POS-n-go Android POS Manual
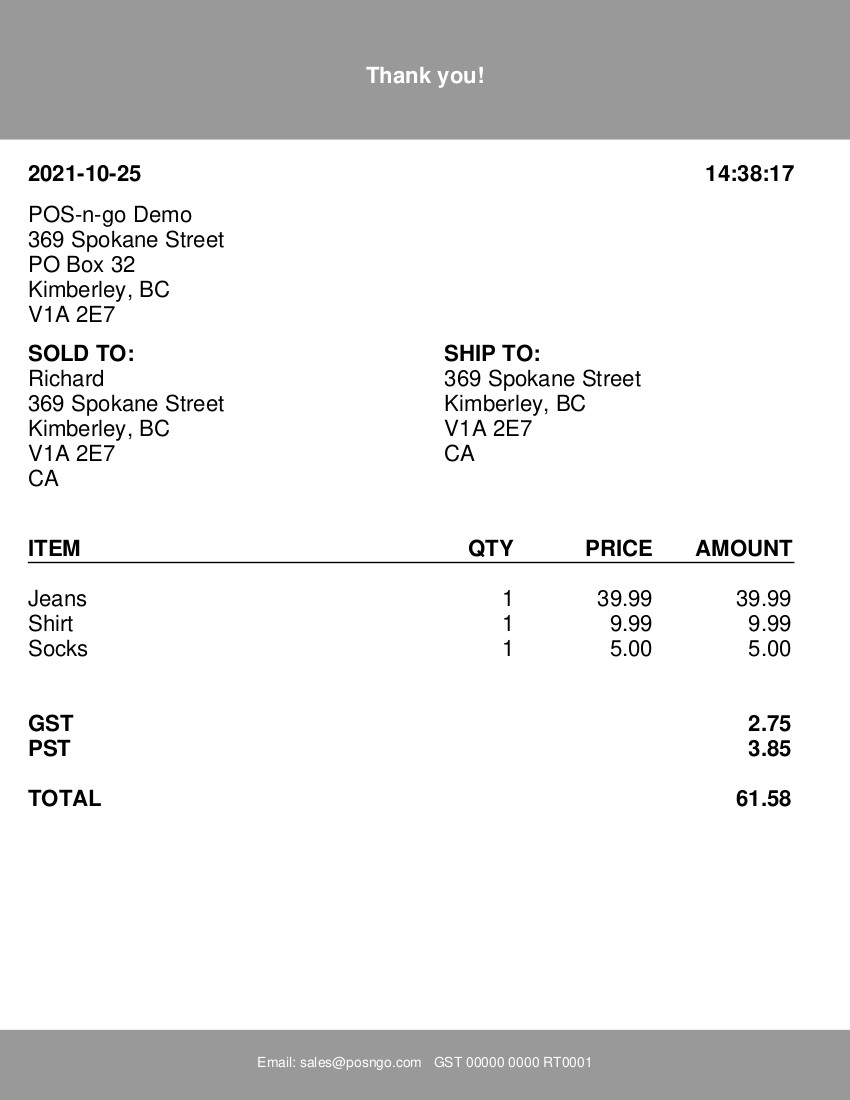
- Templates are used to design receipts, statements, order confirmations and more.
- They are used to generate email and text message documents that are sent to customers.
- The designer enables you to add your business information, logo and other marketing information.
- The POS-n-go Details block must be included in your design since transaction information is placed there.
- Templates are configured in the web portal, Advanced Setup, Templates.
- To add a template select the Add button.
- To make changes to an existing template select the Edit button.
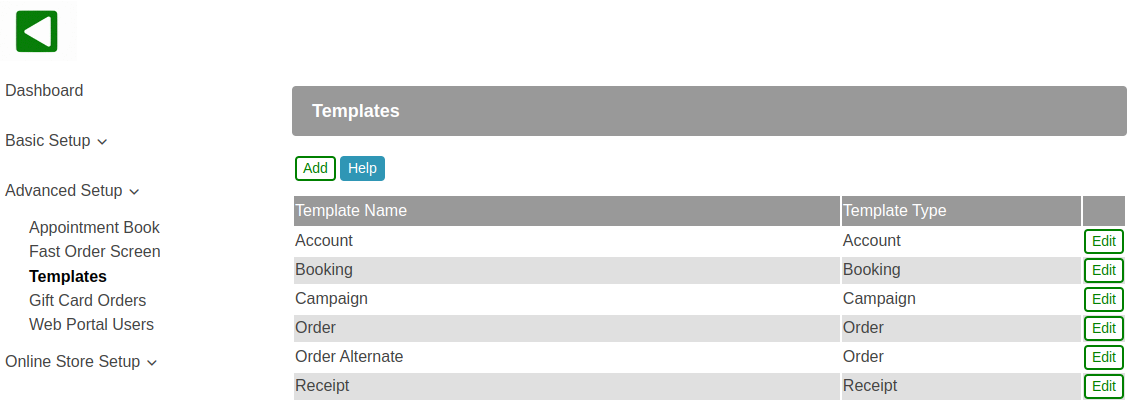
- You cannot delete a template but you can deselect the Active checkbox to deactivate it.
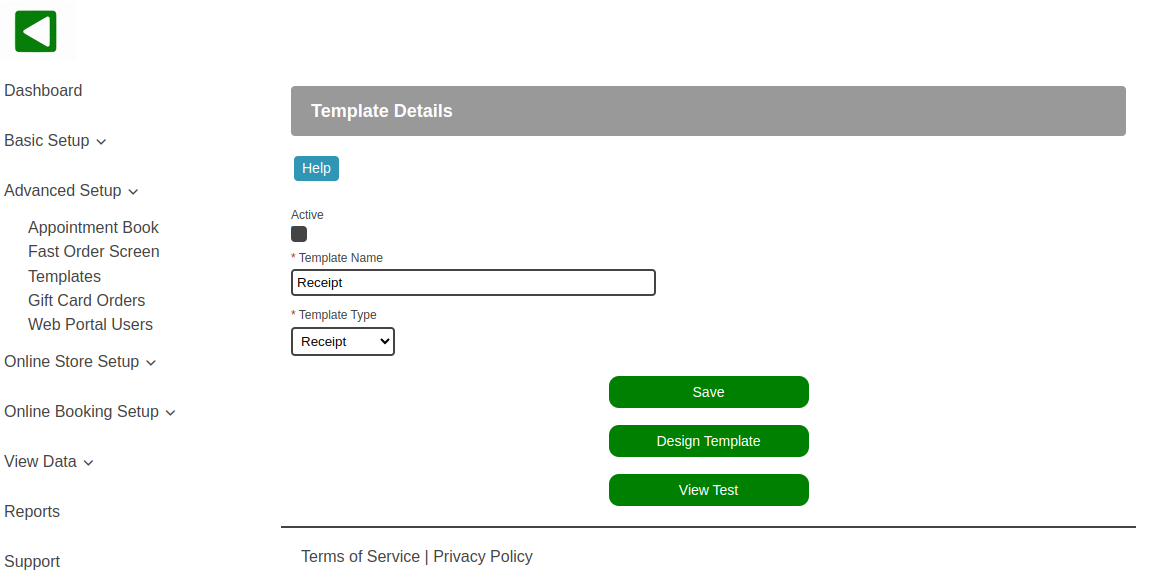
- The only mandatory field for a template is the Template Name.
- The Template Type drop down allows you to select the template type, such as Receipt.
- The Design Template button launches the template designer.
- The View Test button allows you to view a sample of what the document will look like.
- Ensure that only one template is active for each template type.
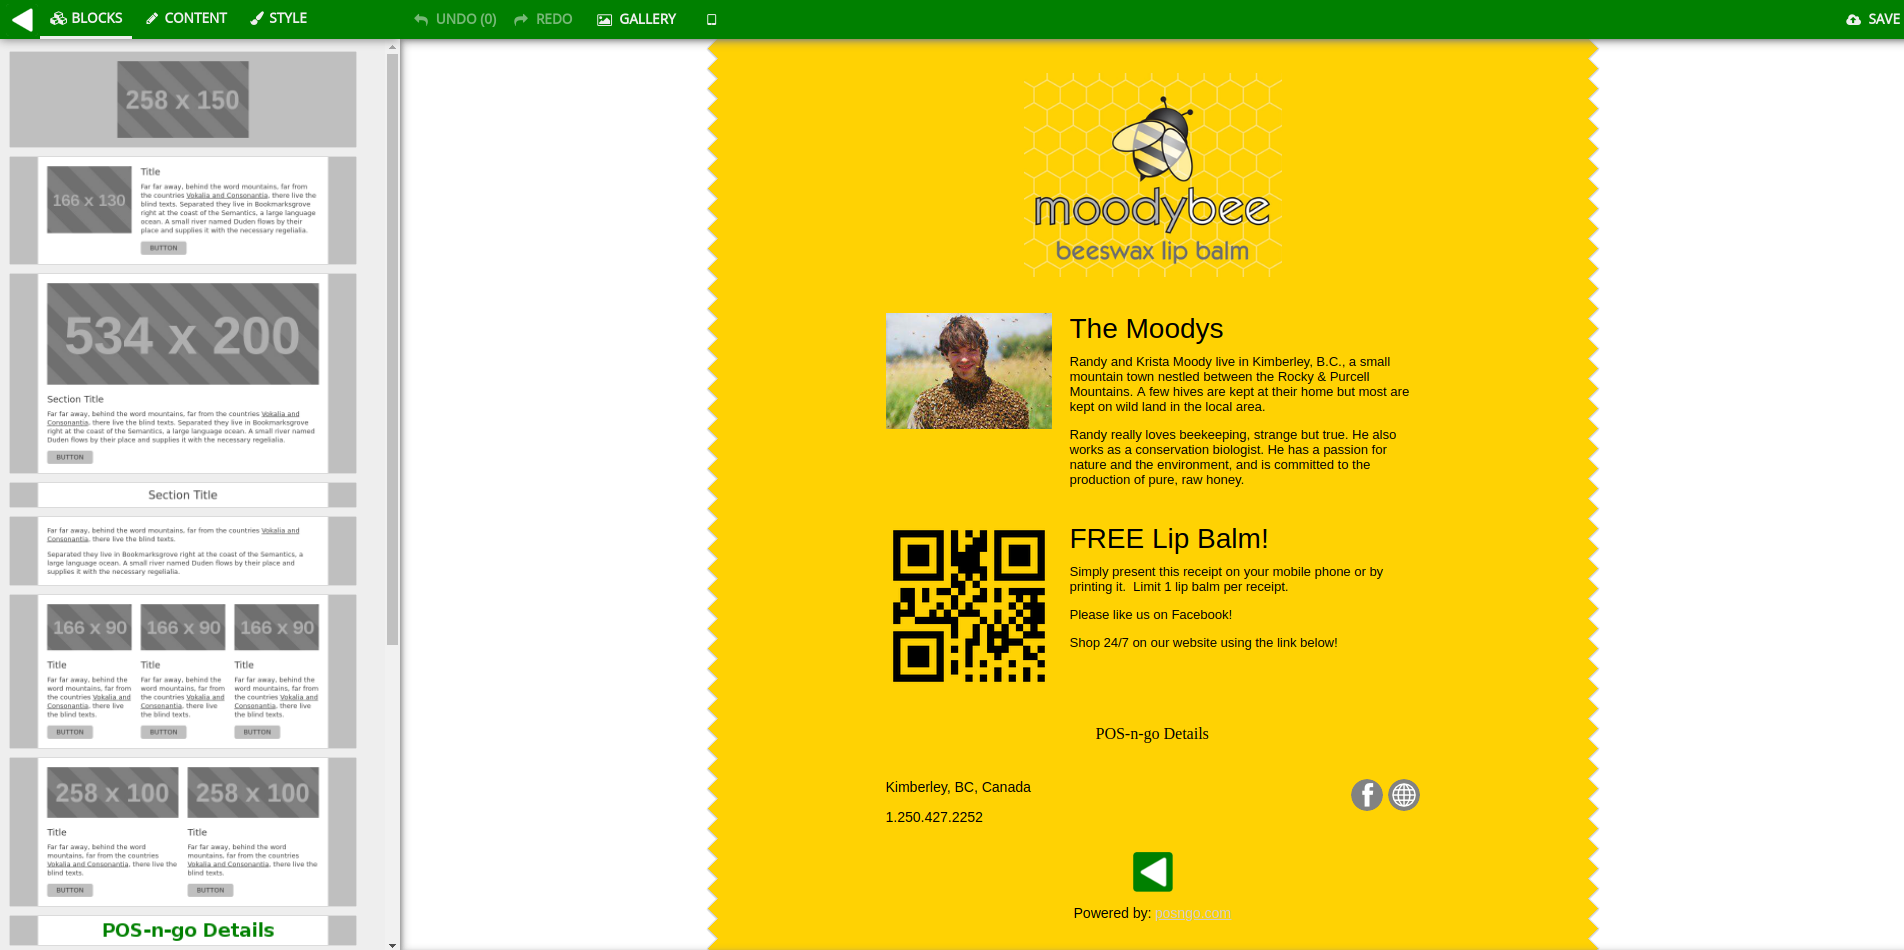
- The template designer will open in a new web browser tab.
- Add design blocks from the left pane to your template.
- After adding blocks that include an image select the Upload button on the image placeholder.
- Only PNG and JPG image formats are supported.
- Ensure that you include the POS-n-go Details in your design.
- Ensure that you select the Save button in the designer to save your template.
- To send a custom text message set Text Receipt Message in the web portal, Settings.
- To show the customer address enable Address in the web portal, Settings.
- To show the customer billing address enable Billing Address in the web portal, Settings.
- To show the customer account link enable Receipt Account Link in the web portal, Settings.
- To show the customer account balance enable Receipt Account Balance in the web portal, Settings.
- To show the customer account payment link enable Receipt Account Payment in the web portal, Settings.

- To attach a PDF receipt to emails set PDF Receipt Billing Address in the web portal, Settings.
- To show additional information on the PDF receipt set PDF Receipt Header and PDF Receipt Footer in the web portal, Settings.