POS-n-go Android POS Manual

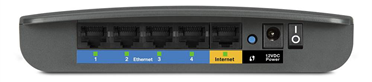
- Connect the yellow "Internet" port to your internet router using a network cable.
- Connect your Elo PayPoints to the blue "Ethernet" connectors.
- Connect your receipt and order printers to the blue "Ethernet" connectors.
- Connect your payment terminals to the blue "Ethernet" connectors.
- Plug the included power adapter into a power outlet and the router.
- Green indicators for Internet and the devices confirm a network link.
The default POS-n-go router WiFi network is:
- WiFi SSID: posngo
- WiFi Password: dinamikos
- Connect the "LAN" connector to your POS-n-go router using a network cable.
- Plug the included power cord into a power outlet and the PayPoint.
- Connect the "100/10BASE" connector to your POS-n-go router using a network cable.
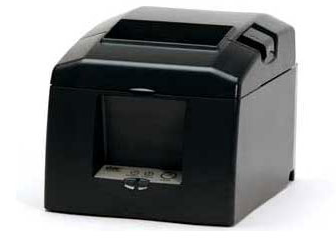
- Plug the included power adapter into a power outlet and the printer.
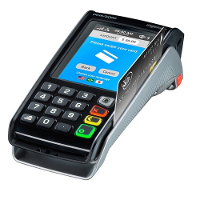
- Connect the "ETH" connector to your POS-n-go router using a network cable.
- Plug the included power adapter into a power outlet and the terminal.
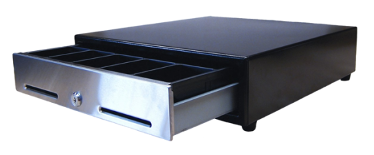
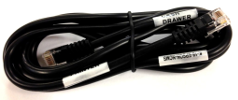
- Connect the cash drawer to your receipt printer using the special cable.
- The cable end labled "Cash Drawer" connects to the cash drawer.
- The cable end labled "Printer" connects to the "DK" connector on your receipt printer.