POS-n-go Android POS Manual
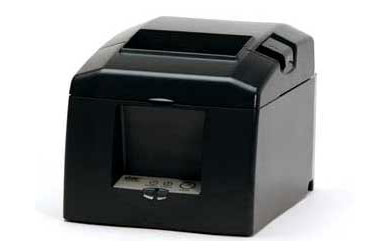
The Star TSP650 series TSP654 Ethernet printer is supported.
The manual may be downloaded here: star_tsp650.pdf
To configure a static IP address on the printer:
- Turn off the printer.
- Hold the feed button down while turning on the printer. Release the feed button once it starts printing.
- On the first printed report confirm that the Emulation is set to Star. This is controlled with the DIP switches.
- On the second printed report note the IP Address.
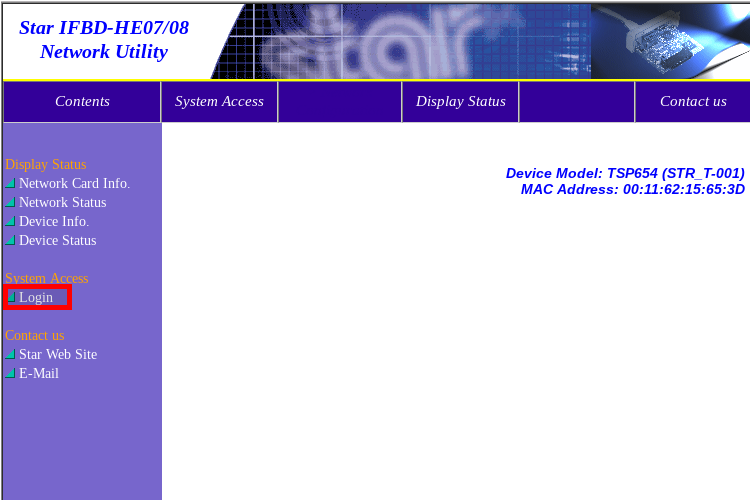
- Using a web browser that is on the same network navigate to the IP address from the report.
- On the Star printer web page select Login.
- The default username is root and password is public.
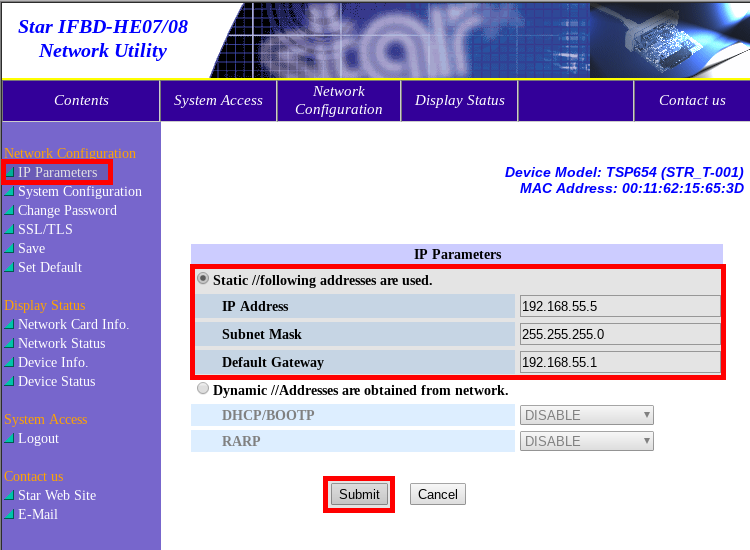
- Configure the IP address, subnet mask and default gateway for the receipt or order printer noted below.
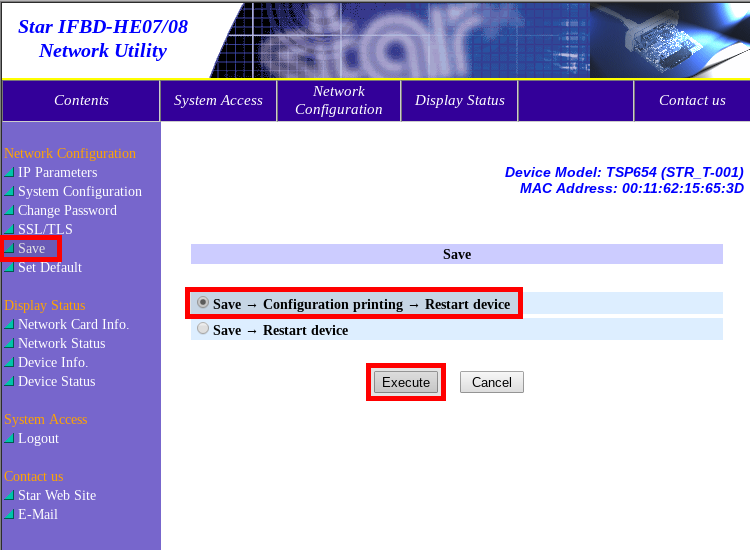
- Select Save and Reboot the printer.
- In the POS-n-go web portal in the Basic Setup, Devices, Device Settings section set the receipt or order Printer IP to the configured address. Set the Model to Star. These settings will take effect after your next Download Settings.
Receipt Printer
- IP Address: 192.168.55.5
- Subnet Mask: 255.255.255.0
- Default Gateway: 192.168.55.1
Order Printer 1
- IP Address: 192.168.55.6
- Subnet Mask: 255.255.255.0
- Default Gateway: 192.168.55.1
Order Printer 2
- IP Address: 192.168.55.7
- Subnet Mask: 255.255.255.0
- Default Gateway: 192.168.55.1
Order Printer 3
- IP Address: 192.168.55.8
- Subnet Mask: 255.255.255.0
- Default Gateway: 192.168.55.1